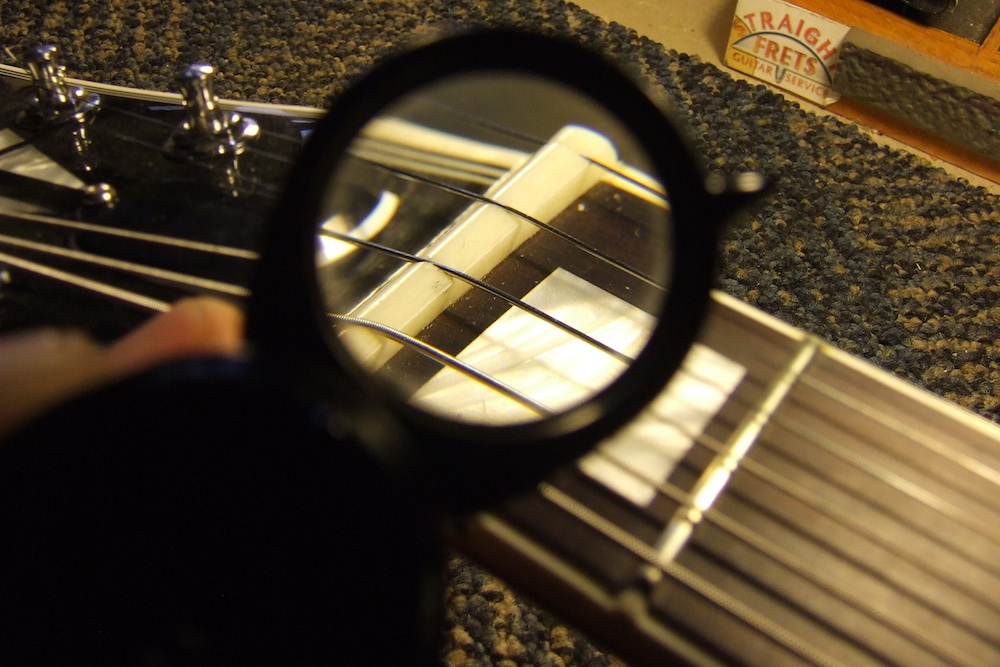
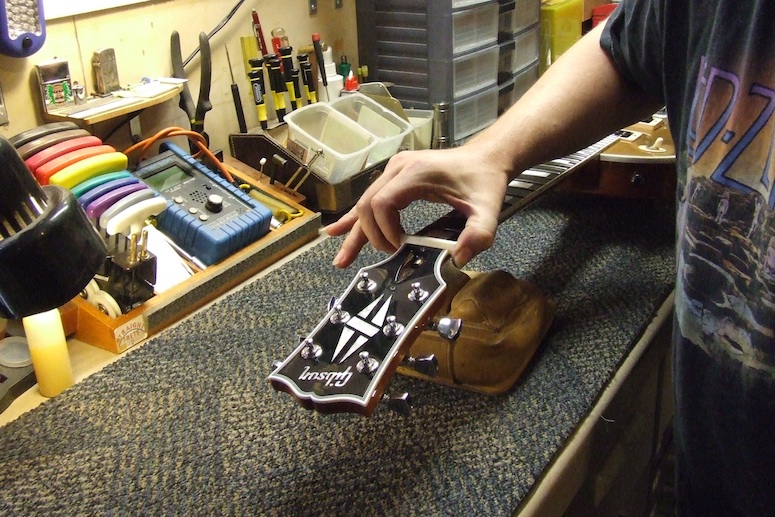
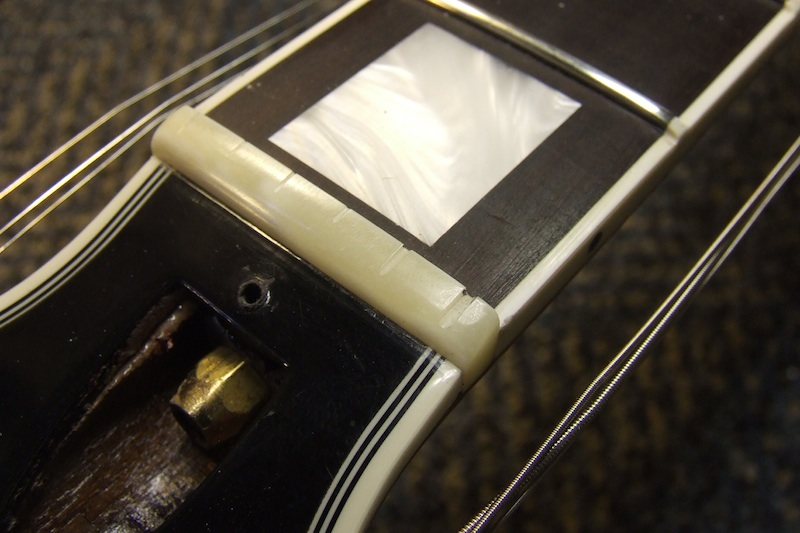
This Gibson Custom Shop Les Paul is an example of how not to make a nut, especially for a $4,000 guitar. Here we can notice under close inspection that the D, G, and B strings are not seated to the front wall of the nut. Instead, they are about a millimeter back, which is like sliding your frets up the string 1mm. The lower frets on this guitar will always be excessively sharp, no matter how well it rings true at the 12th fret.
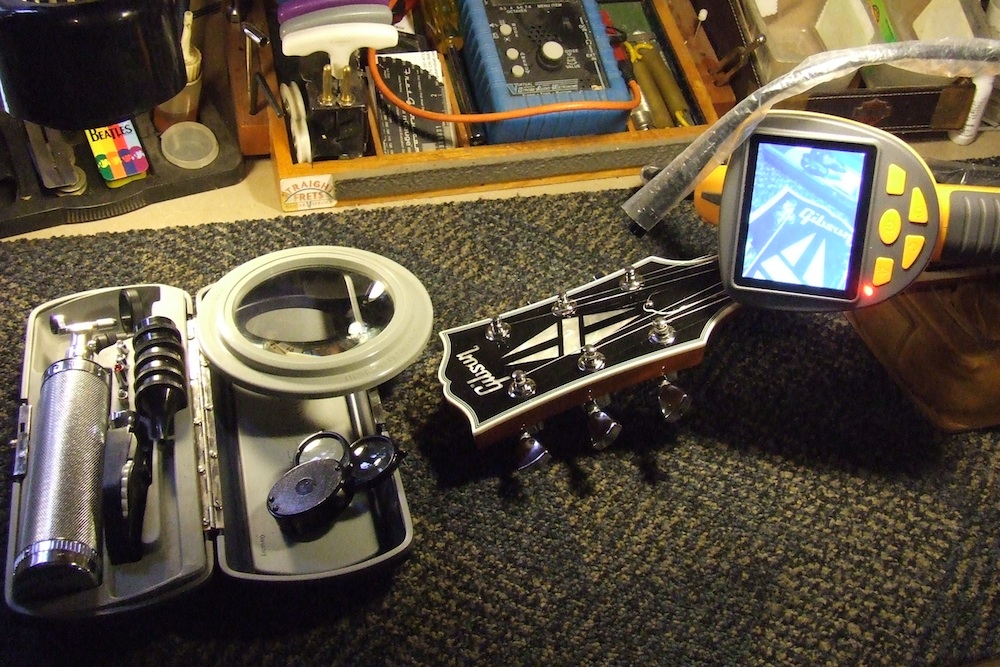
Here at Straight Frets we use many different magnification and inspection tools. The otoscope on the left is great for inspecting nut slots, bridge pin holes, and saddles on electric and acoustic guitars. Certainly one of my favorite tools. The magnification lenses are more products from the medical industry, and the inspection camera on the right is great for installing K&K pickups, inspecting bridge plates, and to aide in gluing loose braces.
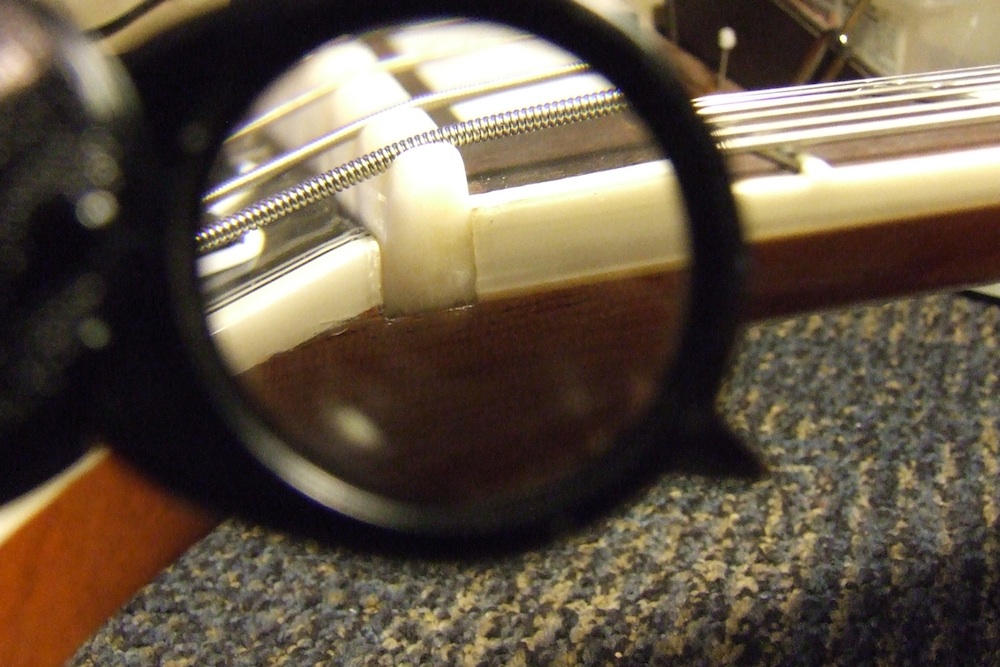
Aesthetically, this nut could fit the slot better, in addition to having the same contour of the neck, and having a top side that doesn’t show file marks.
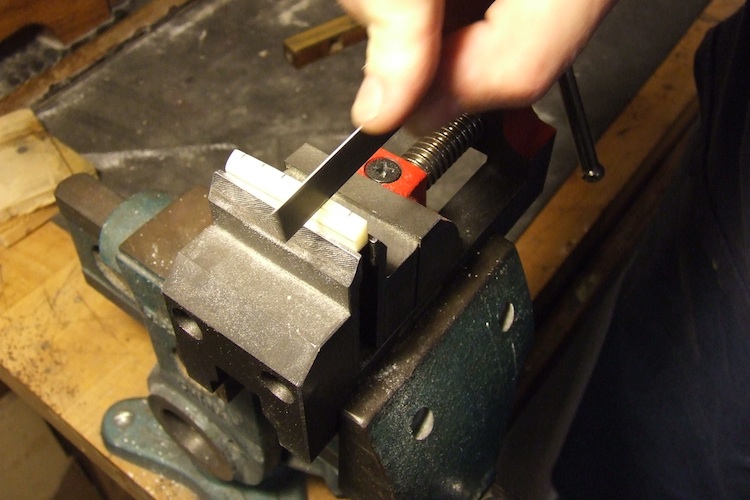
This is the first thing we do when making a nut. There must be no light showing anywhere. The bottom and sides must be smooth and square, not only on the bone blank, but also in the nut slot itself. This insures the most transfer of string vibration. If the nut blank doesn’t pick the neck up off the bench, it doesn’t go on that guitar. This tolerance is less than two thousandths of an inch.
Now we shape the nut like the old school luthiers once did at Gibson. We don’t try to reinvent the shape to look like a big fret. Once the slots are roughed in the guitar is strung up to pitch and the final height of each string is dialed in.
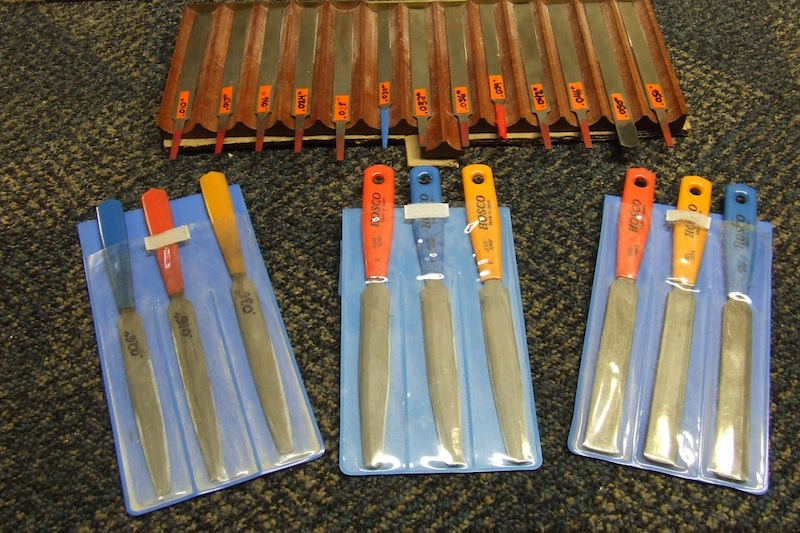
In addition to the intonation issues, this guitar was brought in because of the strings binding in the slots. We have the right tools for the job- a total of 25 nut files for guitars and 6 for basses, plus 6 different sizes of Mitchell’s abrasive cord- a sandpaper meets dental floss type of product.
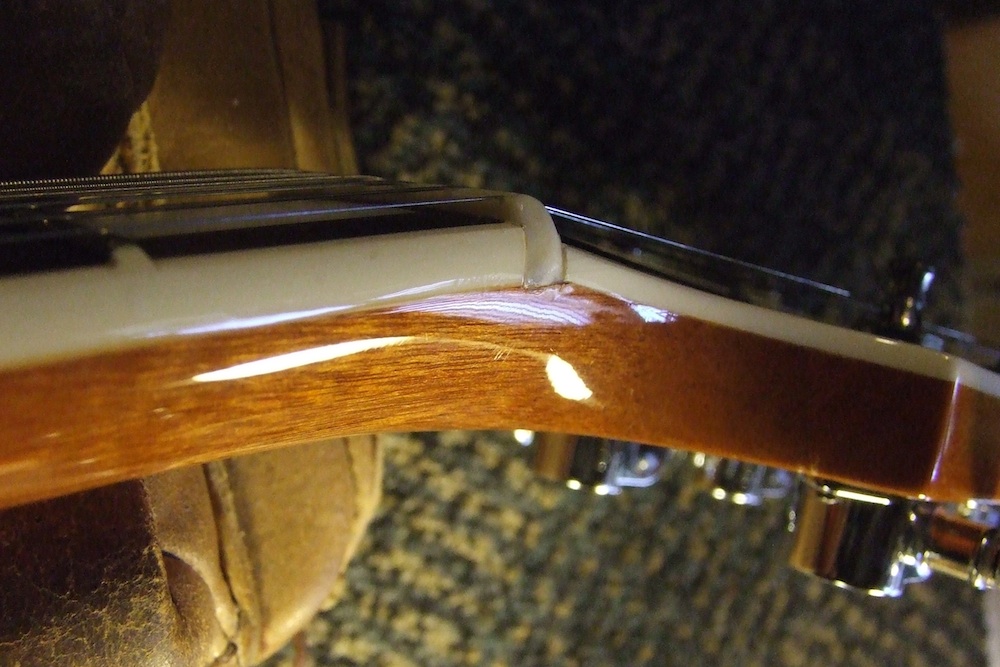
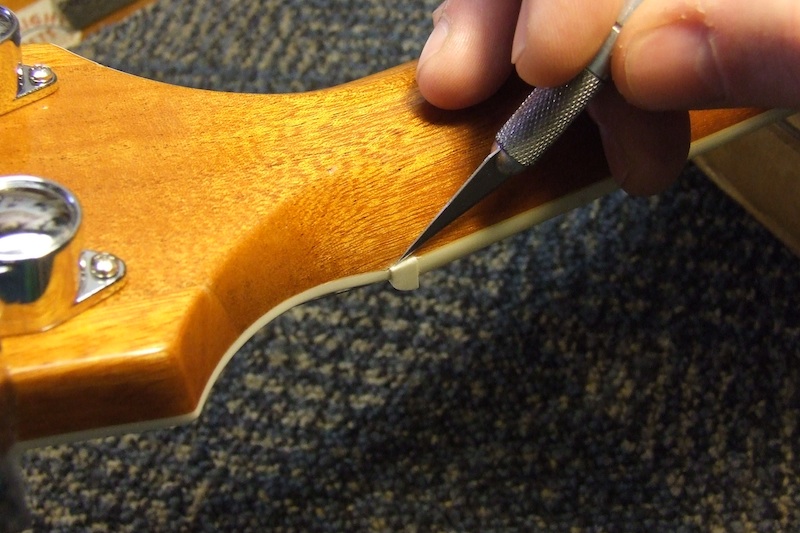
Next we mark the sides with an Exacto knife and the front edge with a pencil, which gives us the marks to make a perfect shaped nut with gently rounded front edge corners. We buff the nut out at this point up to 8000 grit.
Finally, we only glue the front edge of the nut. This allows for not only a clean future removal, but also the best transfer of energy back into the neck.
